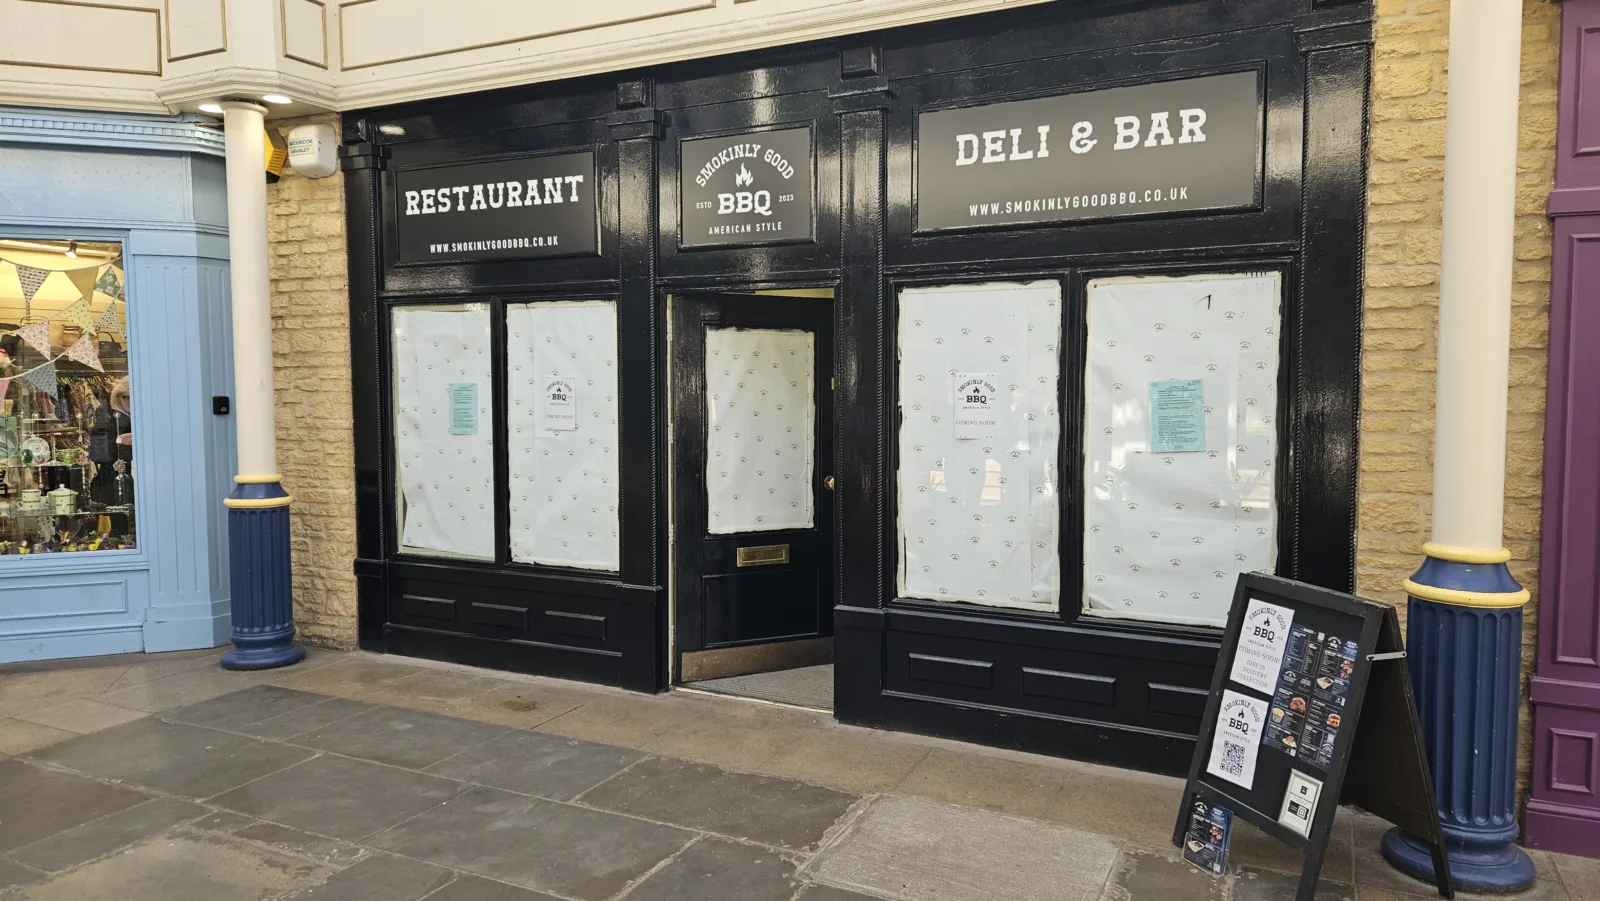
Having produced work for Smokinly Good BBQ at their Tewkesbury site before, another set of requests came in to produce signage for the Cirencester restaurant and diner that is currently being fitted out.
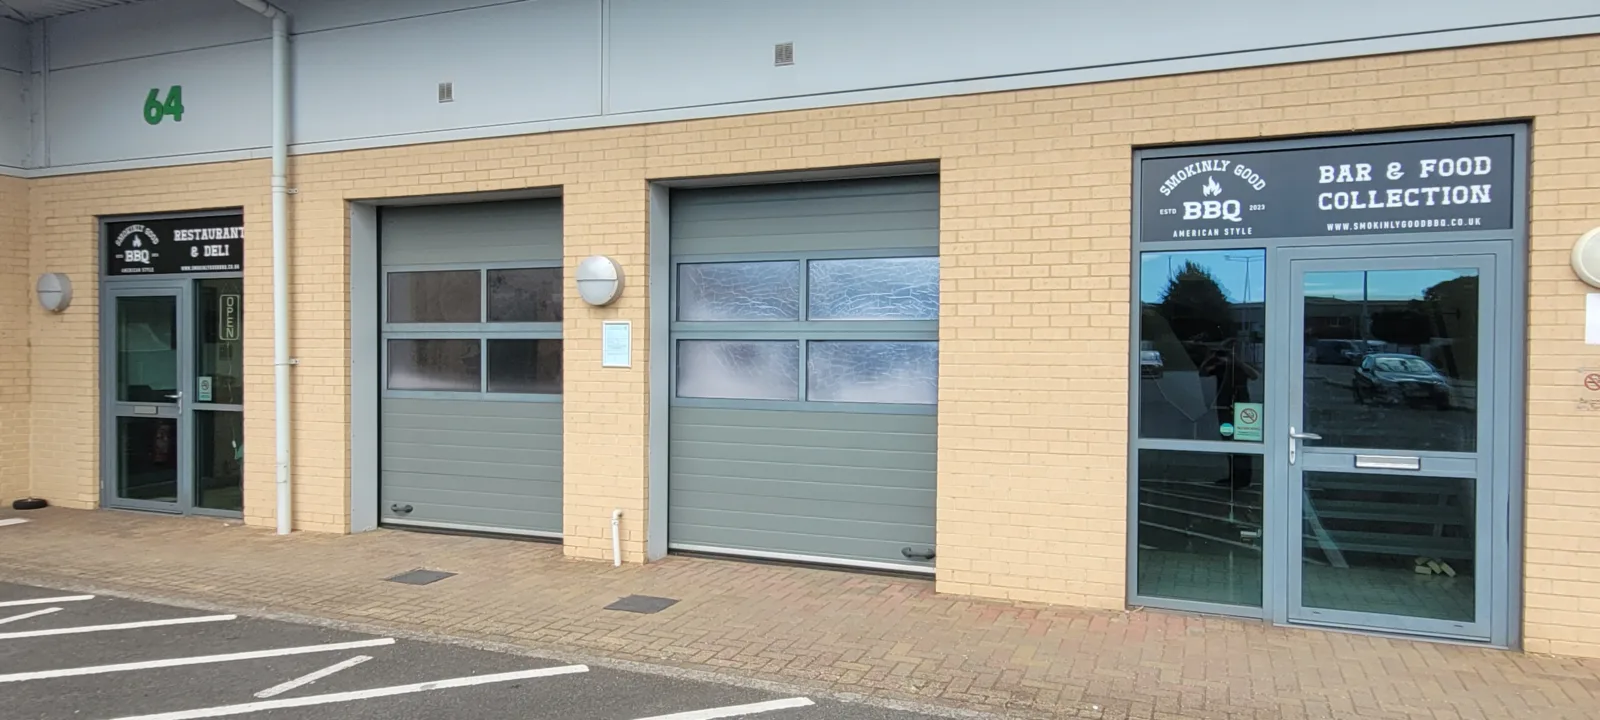
On arrival, the shopfront had already been painted in a glossy black, and the windows had been covered to hide the construction underway inside, whilst still promoting the business with logo stickers dotted all over the paper coverings and an A frame with the current menu.
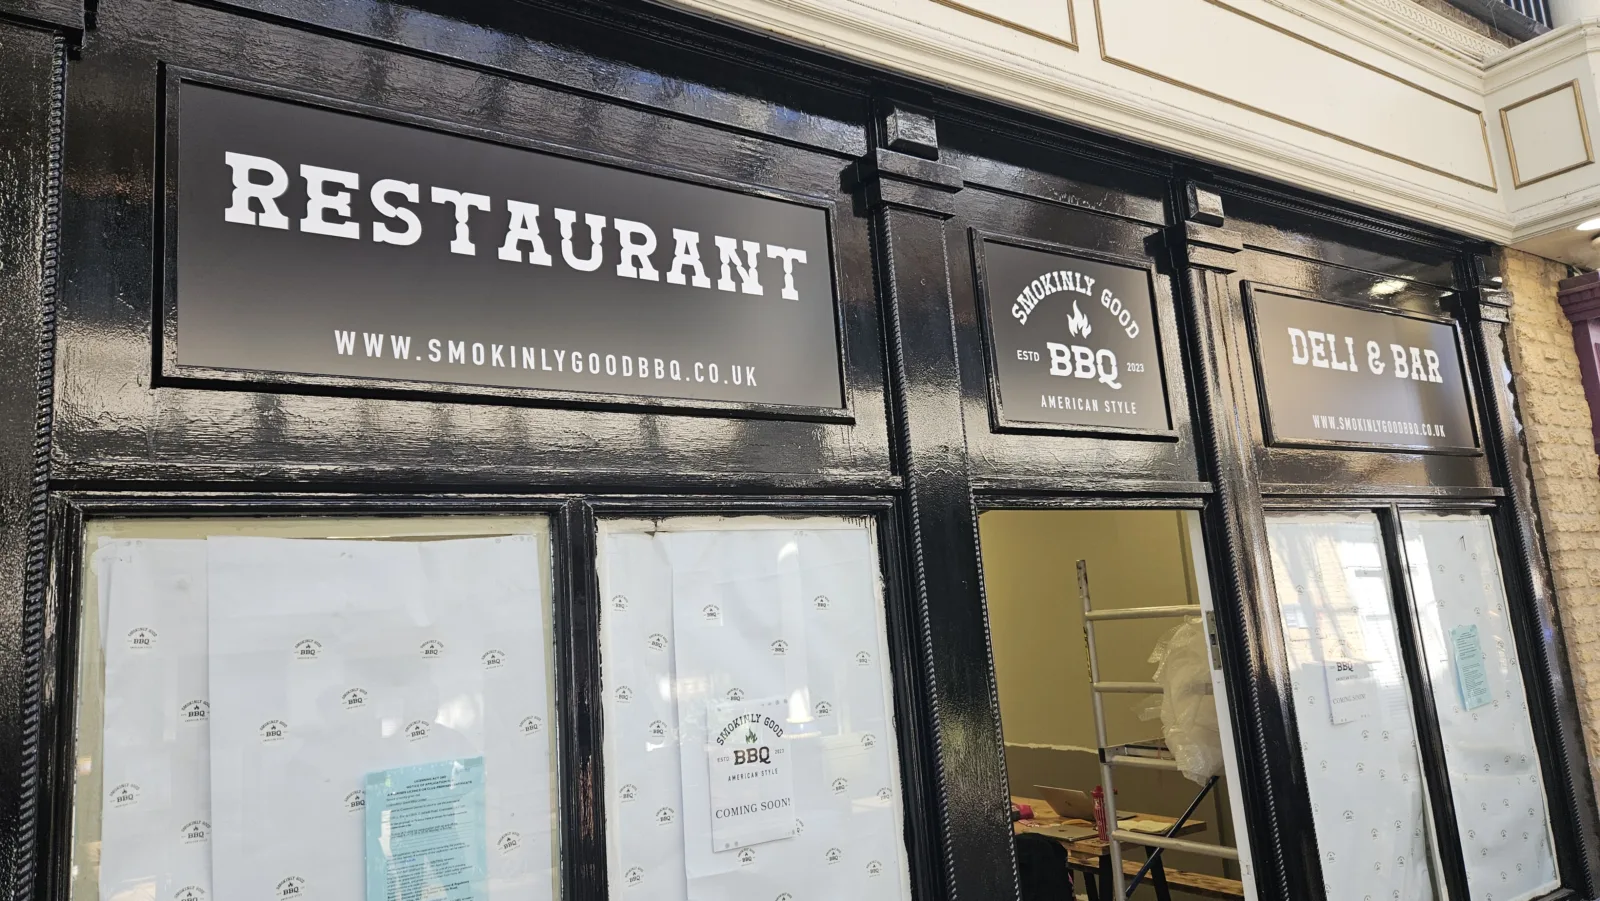
Matte black ACM panels had been prepared back at our own workshop and routed to fit the recesses above the door and large windows to either side. These were swiftly fitted in place to give a more complete look to the shopfront whilst the fit out continues.
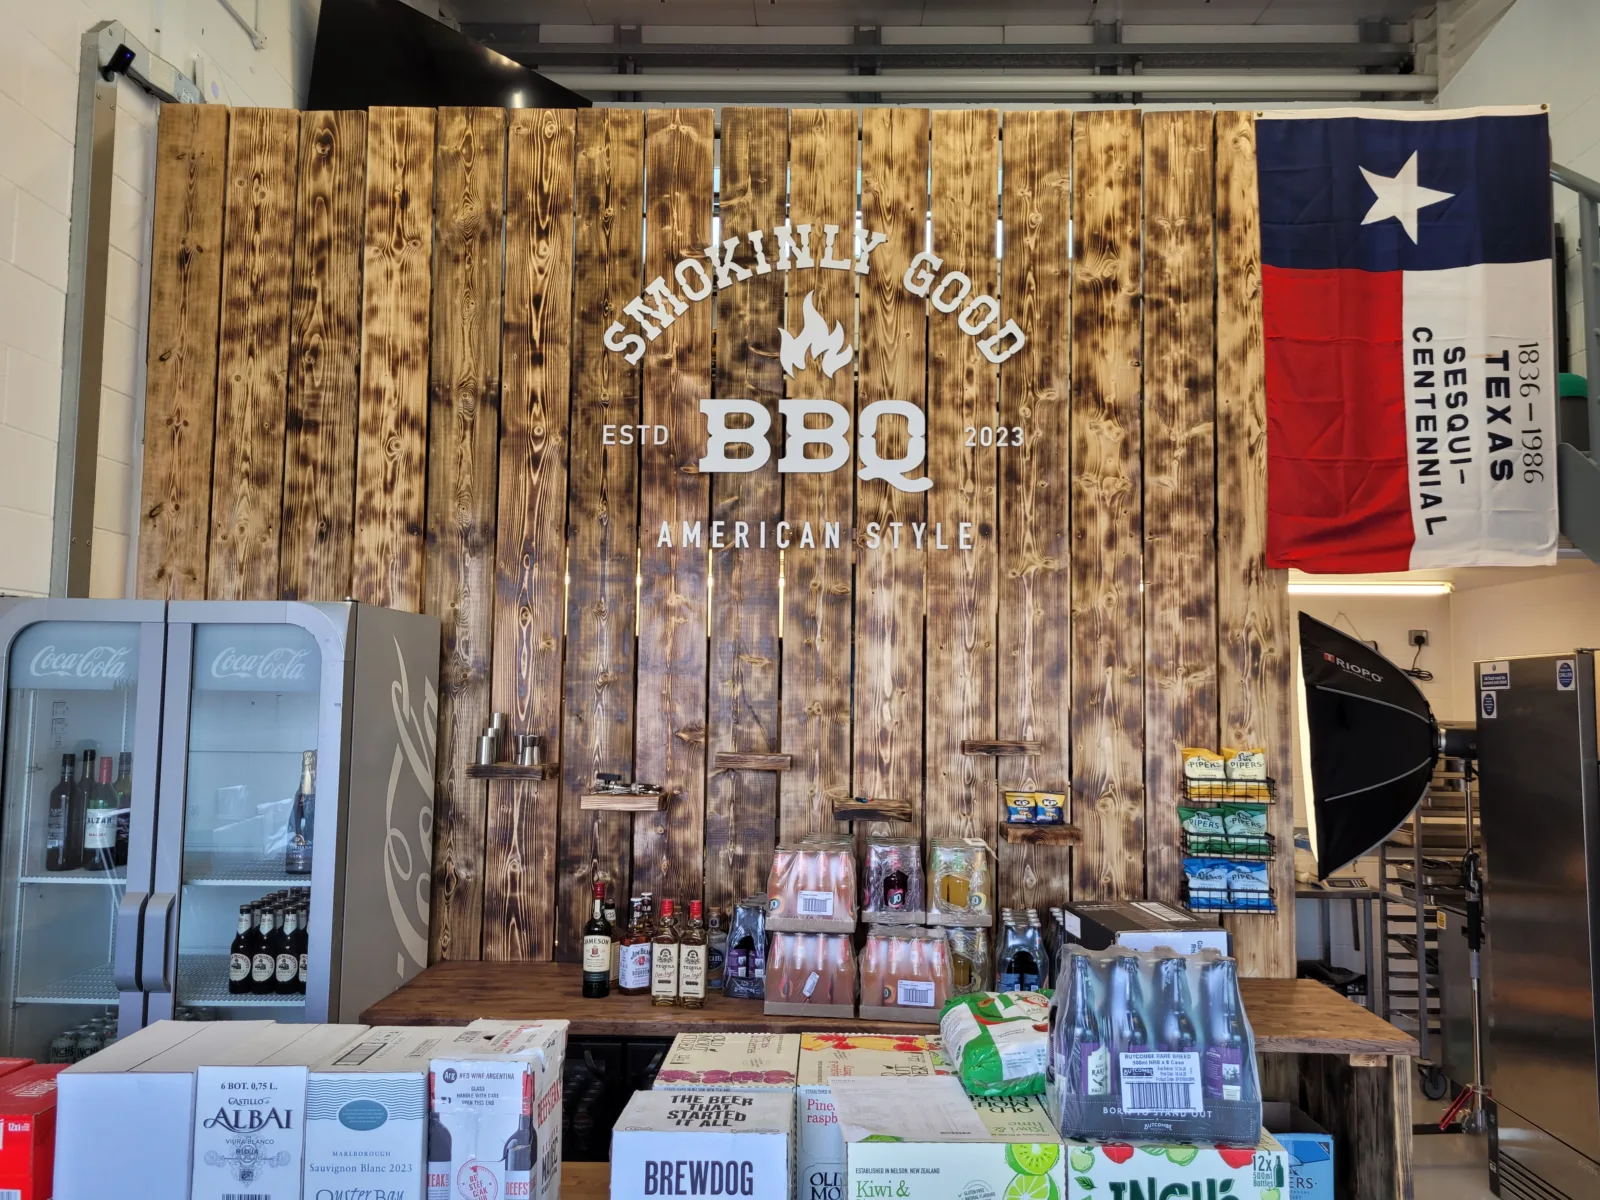
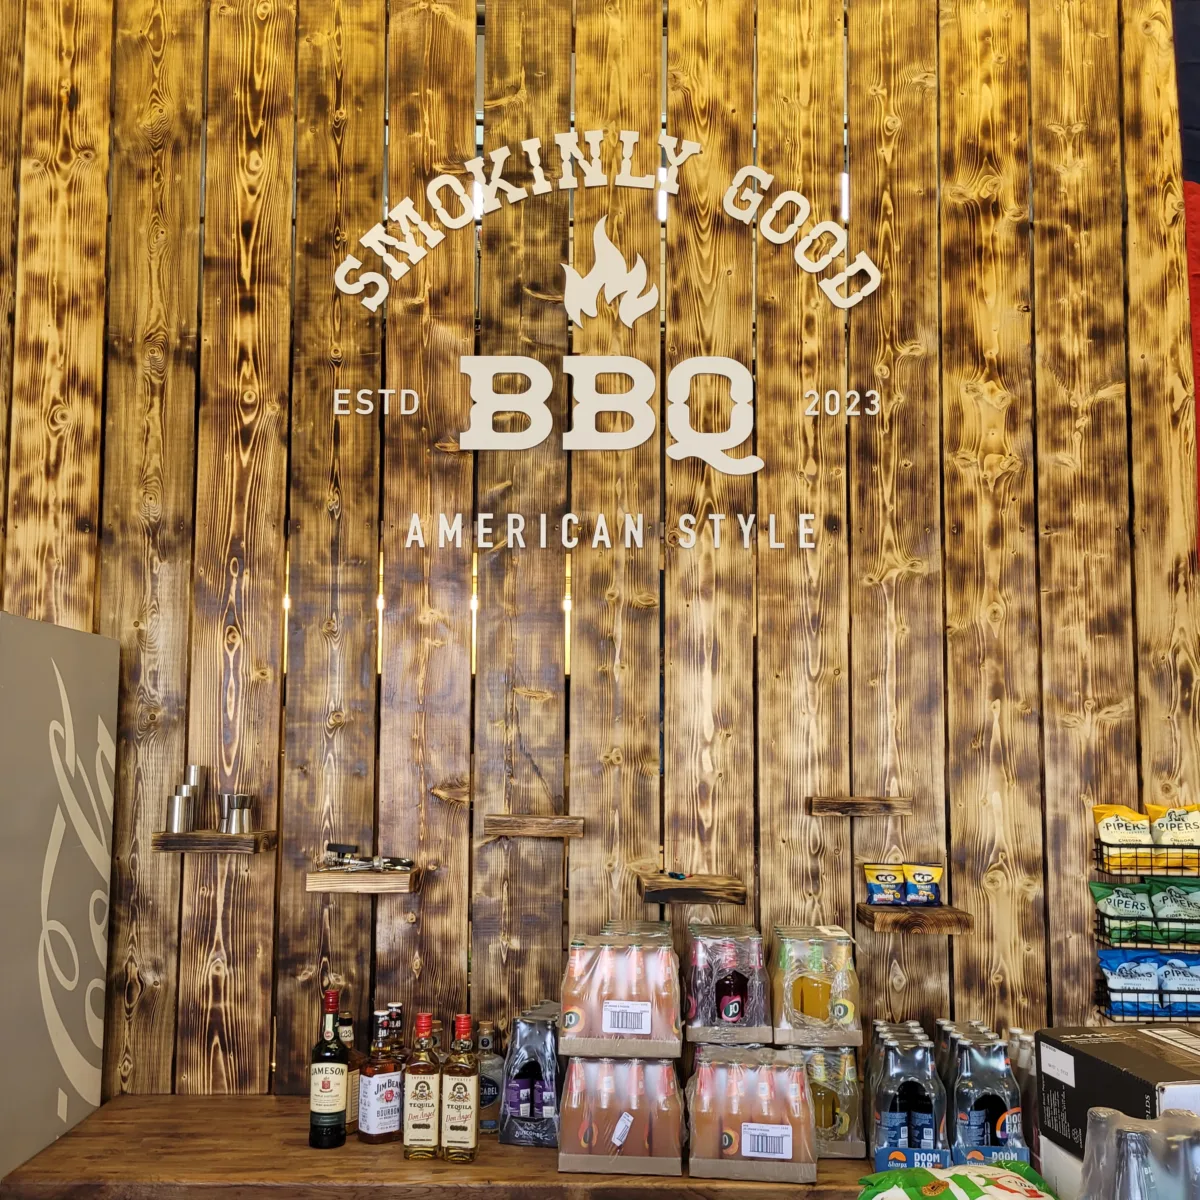
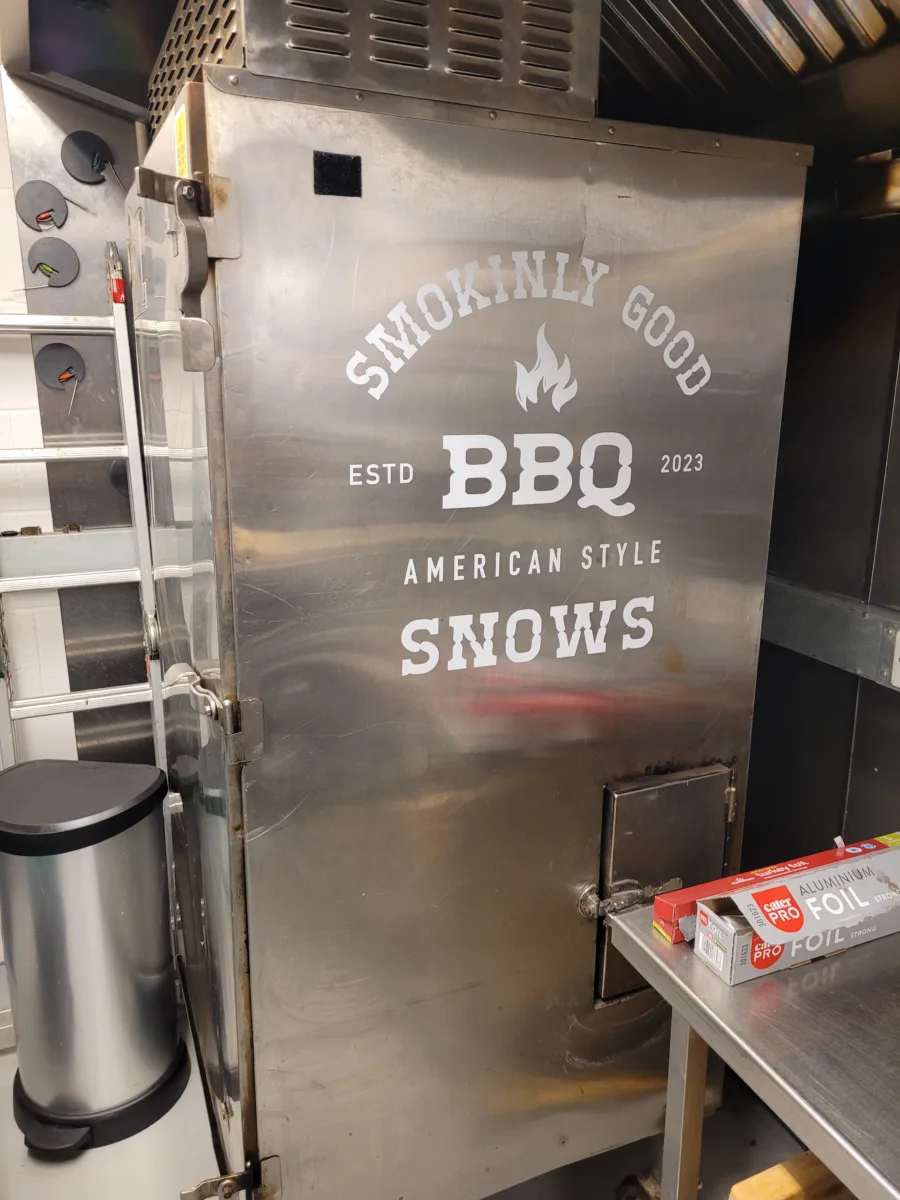
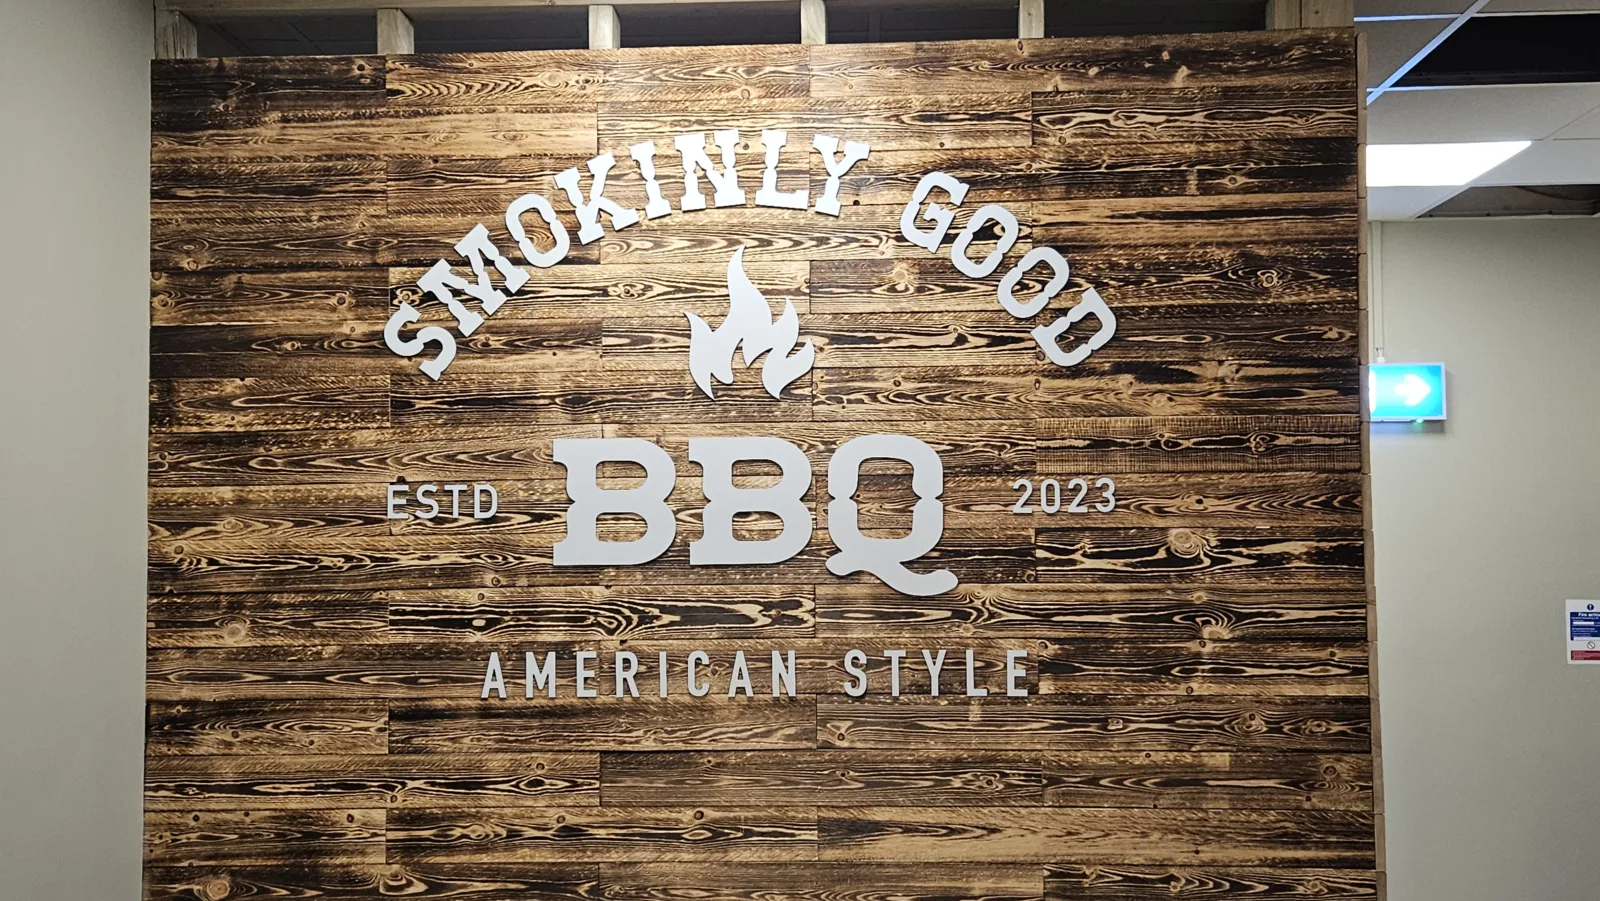
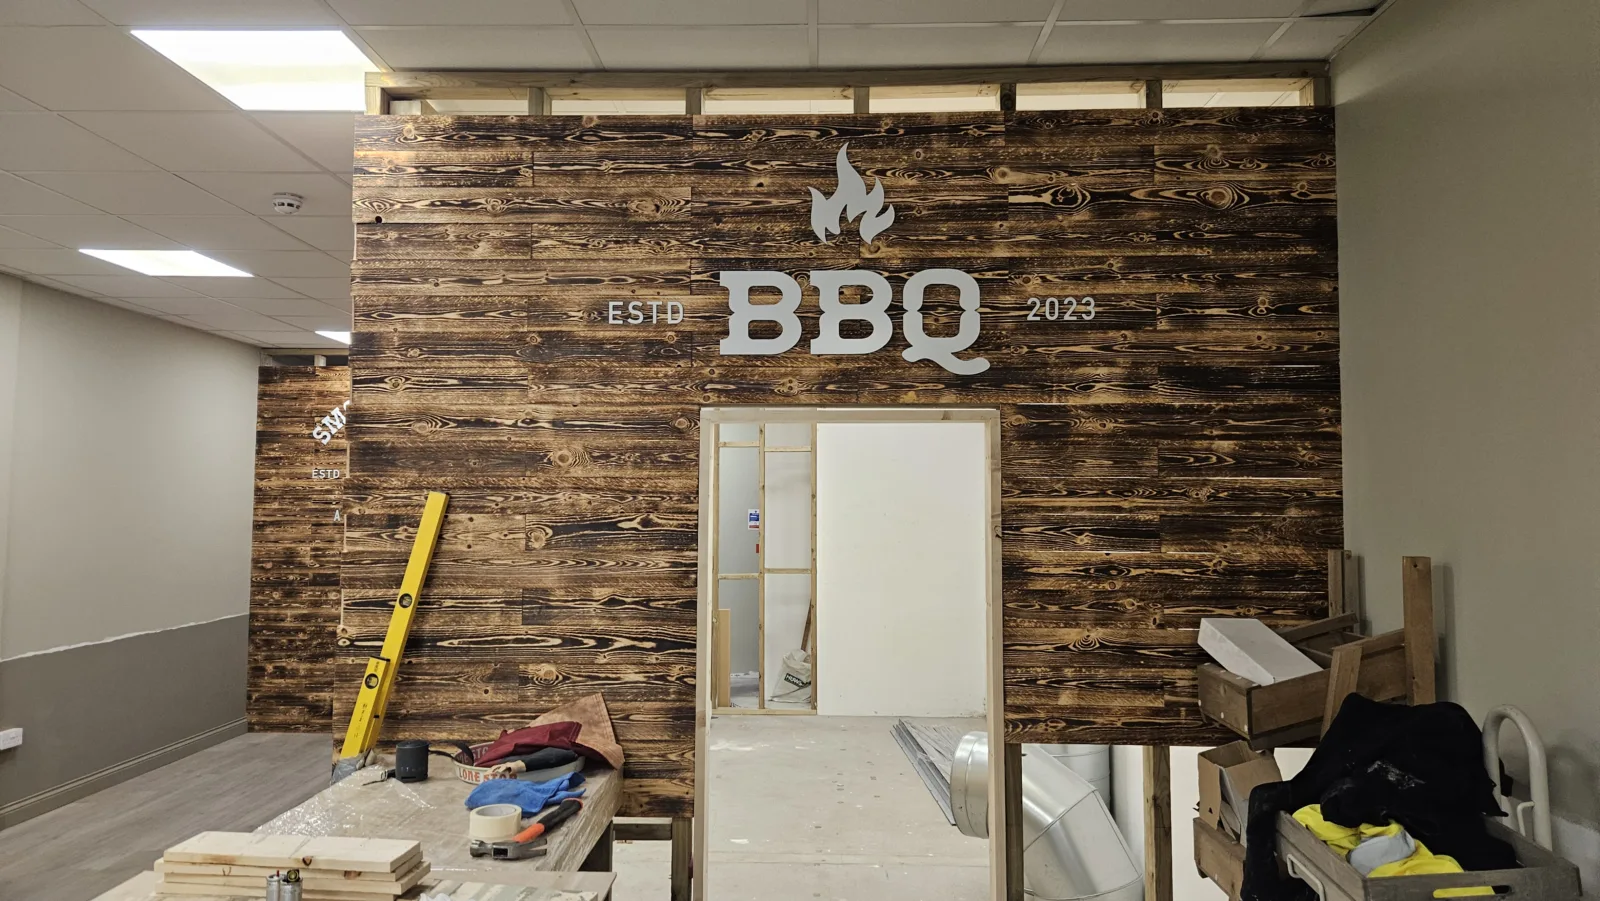
Inside, there was more ACM prepared, cut lettering and logos to go on the walls – a large feature wall constructed from burnt timber, and also a simplified logo to go above the kitchen door.
Details of the current sites and food services can be found on their website and updates and more information can be found on their instagram and facebook feeds.